

Alright, folks! As a supplier of eddy current flaw detectors, I've seen firsthand how crucial it is to have your equipment properly calibrated. Whether you're working in a factory, a testing facility, or any other environment where detecting flaws is a must, a well - calibrated eddy current flaw detector can make all the difference. So, let's dive right in and talk about how to calibrate one of these nifty devices.
Understanding the Basics of Eddy Current Flaw Detection
Before we jump into calibration, it's important to have a basic idea of what eddy current flaw detection is all about. Eddy current testing is a non - destructive testing method that uses electromagnetic induction to detect flaws in conductive materials. When an alternating current is passed through a coil, it generates a magnetic field. When this coil is placed near a conductive test piece, eddy currents are induced in the material. Any flaws in the material, such as cracks or voids, will disrupt these eddy currents, and the changes can be detected and analyzed by the flaw detector.
Pre - calibration Checks
Before you start the calibration process, there are a few things you should do to ensure accurate results. First off, give your eddy current flaw detector a visual inspection. Check for any signs of damage to the unit, like cracked casings, loose cables, or damaged connectors. Make sure all the buttons and controls are working properly.
Next, clean the probe and the test sample thoroughly. Any dirt, grease, or debris on the probe or the sample can interfere with the eddy current signals. You can use a mild solvent and a clean, lint - free cloth to do the cleaning.
It's also a good idea to check the temperature. Eddy current measurements can be affected by temperature changes. Make sure the temperature of the testing environment is stable and within the recommended operating range of your flaw detector.
Selecting the Right Calibration Standard
The calibration standard is a crucial part of the calibration process. It's a sample with known flaws that you use to adjust your flaw detector. Different types of materials and flaw sizes require different calibration standards.
For example, if you're testing steel tubes, you'll need a calibration standard made of steel with flaws that mimic the types of defects you're likely to encounter in your actual testing. You can find a wide range of calibration standards available in the market. These standards are usually certified, which means they've been tested and verified to have specific flaw characteristics.
Initial Setup of the Eddy Current Flaw Detector
Once you've done your pre - calibration checks and selected the appropriate calibration standard, it's time to set up your eddy current flaw detector. Turn on the device and let it warm up for a few minutes. This allows the internal components to reach a stable operating temperature, which is important for accurate measurements.
Connect the probe to the flaw detector. Make sure the connection is secure. Some probes have different settings depending on the type of testing you're doing, so adjust the probe settings according to your requirements.
Calibration Process
Now, let's get into the actual calibration process. Place the calibration standard on a stable surface. Move the probe slowly and steadily over the calibration standard, following the recommended scanning pattern. As you move the probe, the flaw detector will display the eddy current signals.
The goal of calibration is to adjust the settings of the flaw detector so that it accurately detects the known flaws in the calibration standard. You'll typically need to adjust parameters such as gain, phase, and filter settings.
- Gain Adjustment: The gain setting controls the amplification of the eddy current signals. If the gain is set too low, small flaws may not be detected. On the other hand, if the gain is set too high, the signals may be distorted, and you may get false positives. Start with a low gain setting and gradually increase it until the known flaws in the calibration standard are clearly visible on the display.
- Phase Adjustment: The phase of the eddy current signal can provide information about the type and orientation of the flaw. You can adjust the phase setting to optimize the detection of specific types of flaws. This usually involves rotating the phase angle until the flaw signals are at their maximum amplitude.
- Filter Settings: Filters can be used to reduce noise and interference in the eddy current signals. There are different types of filters available, such as low - pass, high - pass, and band - pass filters. Select the appropriate filter settings based on the characteristics of your testing environment and the type of flaws you're trying to detect.
As you make these adjustments, keep referring back to the calibration standard to ensure that the flaw detector is accurately detecting the known flaws. It may take a few tries to get the settings just right.
Verification and Documentation
Once you've completed the calibration process, it's important to verify that the flaw detector is working correctly. Move the probe over the calibration standard again and check that the known flaws are still being detected accurately. You can also test the flaw detector on a few additional samples with known flaws to confirm its performance.
It's also crucial to document the calibration process. Keep a record of the calibration date, the settings used, the calibration standard used, and the results of the verification tests. This documentation is important for quality control purposes and can be used to demonstrate compliance with industry standards.
Importance of Regular Calibration
Regular calibration of your eddy current flaw detector is essential. Over time, the performance of the device can degrade due to factors such as component wear, temperature changes, and electrical interference. By calibrating your flaw detector regularly, you can ensure that it continues to provide accurate and reliable results.
Most manufacturers recommend calibrating the flaw detector at least once a year. However, if you're using the device in a harsh environment or for high - precision testing, you may need to calibrate it more frequently.
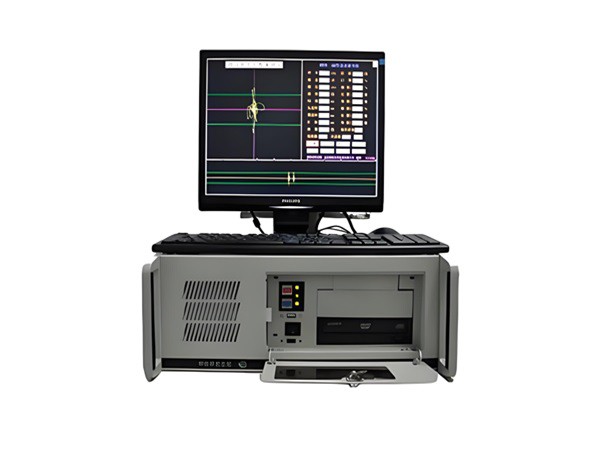
High - Speed Automatic Eddy Current Flaw Detector for Steel Tubes
If you're in the market for a state - of - the - art eddy current flaw detector, you might want to check out our High - Speed Automatic Eddy Current Flaw Detector for Steel Tubes. This detector is designed specifically for high - speed testing of steel tubes and offers advanced features for accurate flaw detection.
Conclusion
Well, that's a wrap on how to calibrate an eddy current flaw detector. Remember, proper calibration is key to getting accurate and reliable results from your device. If you have any questions about calibration or if you're interested in purchasing an eddy current flaw detector, don't hesitate to reach out. We're here to help you with all your flaw detection needs and get the best equipment for your specific applications.
References
- Nondestructive Testing Handbook, Volume 4: Eddy Current Testing
- ASNT (American Society for Nondestructive Testing) Standards for Eddy Current Testing