


Hey there! As a supplier of eddy current flaw detectors, I know how crucial it is to keep your equipment in top - notch condition. One of the most important parts of an eddy current flaw detector is the probe. In this blog, I'll walk you through the process of cleaning an eddy current flaw detector probe.
Why Cleaning the Probe is Important
First off, let's talk about why cleaning the probe is so important. The probe is the part that comes into direct contact with the material being inspected. Over time, it can accumulate dirt, debris, oil, and other contaminants. These contaminants can interfere with the probe's ability to accurately detect flaws. They can cause false readings, reduce the sensitivity of the probe, and even damage the probe itself in the long run. So, regular cleaning is essential to ensure the reliability and accuracy of your eddy current flaw detector.
What You'll Need
Before you start cleaning the probe, you'll need to gather a few supplies. Here's what I recommend:
- Isopropyl alcohol: This is a great cleaning agent because it evaporates quickly and doesn't leave behind any residue. You can usually find it at your local drugstore.
- Soft, lint - free cloths: These are important to avoid scratching the probe. Microfiber cloths work really well.
- Cotton swabs: They're handy for getting into small, hard - to - reach areas of the probe.
- Compressed air canister: This can be used to blow out any loose debris from the probe.
Step - by - Step Cleaning Process
Step 1: Power Off and Unplug the Detector
Safety first! Before you start cleaning the probe, make sure the eddy current flaw detector is powered off and unplugged from the electrical outlet. This will prevent any electrical shocks and protect the equipment from damage.
Step 2: Inspect the Probe
Take a close look at the probe. Check for any visible signs of damage, such as cracks, scratches, or loose parts. If you notice any damage, it's best to contact a professional for repair or replacement. Also, look for any obvious dirt, debris, or contaminants on the probe.
Step 3: Remove Loose Debris
Use the compressed air canister to blow out any loose debris from the probe. Hold the canister about 6 - 8 inches away from the probe and use short, quick bursts of air. Pay special attention to the tip of the probe and any openings or crevices where debris might be trapped.
Step 4: Clean with Isopropyl Alcohol
Moisten a soft, lint - free cloth with isopropyl alcohol. Make sure the cloth isn't dripping wet, just damp. Gently wipe the entire surface of the probe, including the tip, the body, and any connectors. Be careful not to apply too much pressure, as this could damage the probe.
For hard - to - reach areas, you can use a cotton swab moistened with isopropyl alcohol. Carefully insert the cotton swab into the small spaces and gently clean the area.
Step 5: Dry the Probe
After cleaning, use a dry, lint - free cloth to wipe the probe dry. Make sure all the alcohol has evaporated. You can also let the probe air - dry for a few minutes to ensure it's completely dry.
Step 6: Re - inspect the Probe
Once the probe is dry, take another look at it. Make sure all the dirt and contaminants have been removed. If there are still some stubborn stains or contaminants, you may need to repeat the cleaning process.
Maintenance Tips
In addition to regular cleaning, here are some maintenance tips to keep your eddy current flaw detector probe in good condition:
- Store the probe properly: When not in use, store the probe in a clean, dry place. You can use a protective case to prevent damage.
- Avoid rough handling: The probe is a delicate piece of equipment. Avoid dropping it or subjecting it to excessive shock or vibration.
- Calibrate regularly: Regular calibration ensures that the probe is providing accurate readings. Follow the manufacturer's instructions for calibration.
Using the Right Eddy Current Flaw Detector
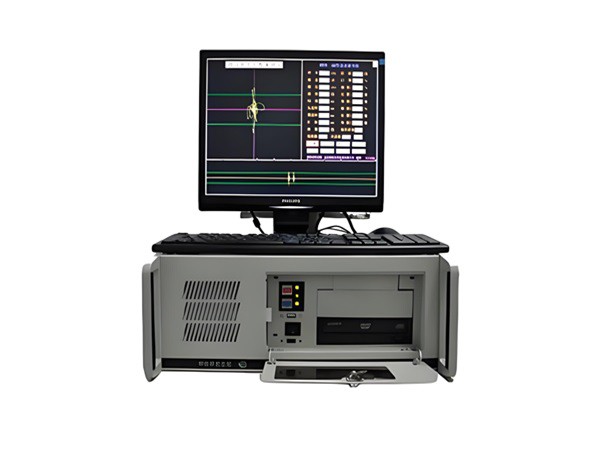
If you're in the market for a new eddy current flaw detector, we have a great option for you. Check out our High - Speed Automatic Eddy Current Flaw Detector for Steel Tubes. It's designed for high - speed and accurate inspection of steel tubes, and it comes with high - quality probes that are built to last.
Conclusion
Cleaning your eddy current flaw detector probe is a simple but important task that can significantly improve the performance and lifespan of your equipment. By following the steps outlined in this blog and implementing the maintenance tips, you can ensure that your probe is always in top condition.
If you have any questions about cleaning your probe or if you're interested in purchasing an eddy current flaw detector, don't hesitate to reach out. We're here to help you make the best decisions for your inspection needs. Let's start a conversation about how we can meet your requirements and get you the right equipment for the job.
References
- Manufacturer's manual of eddy current flaw detectors
- Industry best practices for eddy current flaw detector maintenance